This post has already been read 9 times!
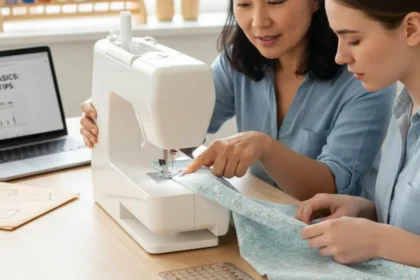
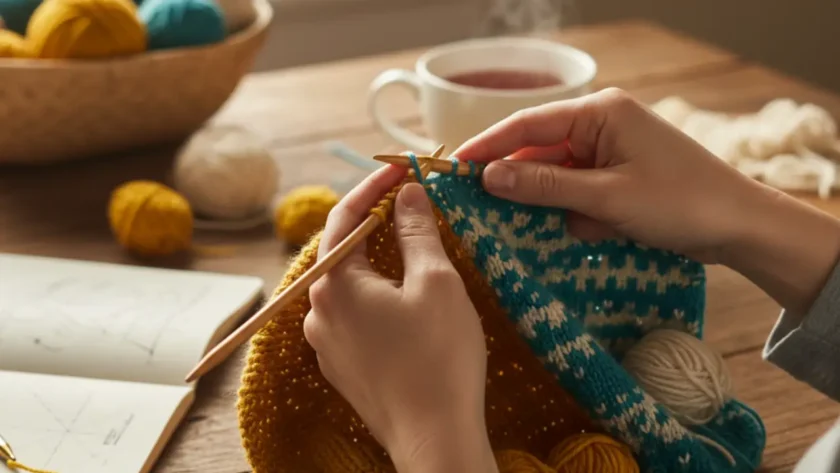
Knitting is an art form that combines creativity with technical skill. Two techniques that stand out for their unique applications and visual impact are short rows and intarsia. These methods can seem daunting at first, but with a bit of guidance, you’ll find they are both accessible and rewarding.
Understanding Short Rows
Short rows are used to create curves and angles in your knitting. This technique involves knitting only part of a row before turning your work and knitting back. This method is perfect for shaping garments, creating darts, or adding depth to patterns.
How to Knit Short Rows
Start with a knit row: Knit to the point where you want to turn your work.
Turn your work: Slip the next stitch purlwise to avoid creating a hole.
Yarn over: Wrap the yarn around the needle to secure the gap.
Continue knitting: Knit or purl back across the stitches.
This process is repeated, adding more rows to one section of your knitting than to others. The result is a three-dimensional shape that can enhance the fit and look of your project.
Practical Application: Shaping a Sweater
Imagine you’re knitting a sweater. To make the shoulders fit better, short rows are used to add extra fabric where needed. This technique allows the sweater to contour to your shoulders, creating a more tailored and comfortable fit.
Intarsia Knitting: Adding Color and Patterns
Intarsia knitting involves using different colors to create patterns or images in your knitting. Unlike Fair Isle knitting, where colors are carried across the row, intarsia involves working with separate blocks of color. This method is ideal for creating large, colorful designs.
How to Knit Intarsia
Prepare your yarn: Cut separate strands of yarn for each color block.
Start knitting: Knit with one color until you reach the point where the new color starts.
Twist yarns: Twist the old and new yarns together to avoid holes.
Continue with the new color: Knit with the new color until you need to switch again.
This technique allows you to create stunning patterns without the bulk of carrying yarn across the back of your work.
Practical Application: Knitting a Picture
Imagine knitting a pillow cover with a bold, colorful design. Using intarsia, you can create a picture of a flower, a geometric pattern, or even a landscape. Each section of the pattern is worked with a different strand of yarn, resulting in a smooth and seamless design.
Combining Short Rows and Intarsia
These two techniques can be combined to create intricate and beautiful projects. For instance, you can use short rows to shape a section of your work and intarsia to add a vibrant pattern within that shaped area.
A Custom Blanket with Short Rows and Intarsia
Consider a custom blanket featuring a landscape design. Short rows can be used to create hills and valleys, while intarsia adds color and detail to the scene. The combination of these techniques results in a one-of-a-kind piece that showcases both your technical skills and artistic vision.
Tips for Success
Practice makes perfect: Start with small projects to get comfortable with these techniques.
Use quality materials: High-quality yarn and needles make a big difference in the final product.
Follow detailed patterns: Choose patterns that provide clear instructions and diagrams.
Stay patient: These techniques can be challenging, but the results are worth the effort.
Troubleshooting Common Issues
Short Rows
Gaps: Ensure you slip the first stitch and wrap the yarn correctly.
Uneven shaping: Practice to achieve consistent tension and turns.
Intarsia
Holes: Twist yarns correctly when switching colors.
Tangled yarn: Use bobbins or clips to manage multiple strands.
Have you tried short rows and intarsia in your knitting projects? Share your experiences and any tips you have in the comments below. We’d love to hear about your successes and challenges!