This post has already been read 4694 times!
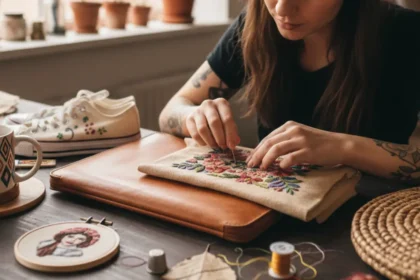
Elastic isn’t just for waistbands anymore. Whether you’re stitching up pajamas, masks, or fitted sheets, sewing elastic is a practical skill that can elevate any handmade item. Mastering it can help you create clothes that actually fit and feel good.
Whether you’re a seasoned sewist or someone who’s just picked up a needle and thread, learning how to sew elastic the right way saves time, frustration, and money. It also opens up a world of customization.
Let’s break it all down—from the types of elastic to sewing methods and troubleshooting tips.
Why Sewing Elastic Matters
Elastic makes your garments more flexible and wearable. Whether it’s around a waistband, on a sleeve, or inside a mask loop, elastic brings comfort and shape. But if sewn incorrectly, it can twist, stretch unevenly, or lose its hold.
Sewing elastic properly ensures your clothing doesn’t sag or pinch. You can adjust fit easily without needing zippers, buttons, or drawstrings.
I remember sewing my first pajama shorts for my niece, Lily. I thought I’d just slide in some elastic and call it a day. But I didn’t secure the ends well, and the elastic twisted inside the casing after the first wash. Lesson learned. Sewing elastic may seem simple, but there’s a technique to doing it well.
Know Your Elastic Types
Before sewing elastic into your fabric, you need to pick the right type. Each type behaves differently and suits different uses.
1. Woven Elastic: This kind doesn’t narrow when stretched. It’s strong and ideal for waistbands in skirts or pants. It holds its shape even after multiple washes.
2. Braided Elastic: It narrows when stretched. Perfect for light fabrics but not ideal for casings that will be frequently stretched. Use it in small projects like DIY hair ties.
3. Knit Elastic: Soft and flexible. It’s ideal for sewing directly to fabric. I prefer this for baby clothes or knitwear.
4. Fold-over Elastic (FOE): It’s great for finishing edges, especially on lingerie or stretch headbands. It wraps neatly around raw edges and comes in beautiful colors.
Choosing the wrong elastic can ruin your whole project. So don’t skip this step.
Ways to Attach Elastic
There are three main techniques when it comes to sewing elastic. Pick the one that suits your project best.
1. Elastic in a Casing
This involves sewing a channel (or casing) and then threading the elastic through it. It’s best for waistbands and children’s clothes. Make sure the casing is a little wider than your elastic. Use a safety pin to guide it through.
Pro Tip: Stitch down both ends of the elastic after pulling it through, and close the opening securely. Otherwise, it might shift or get lost inside.
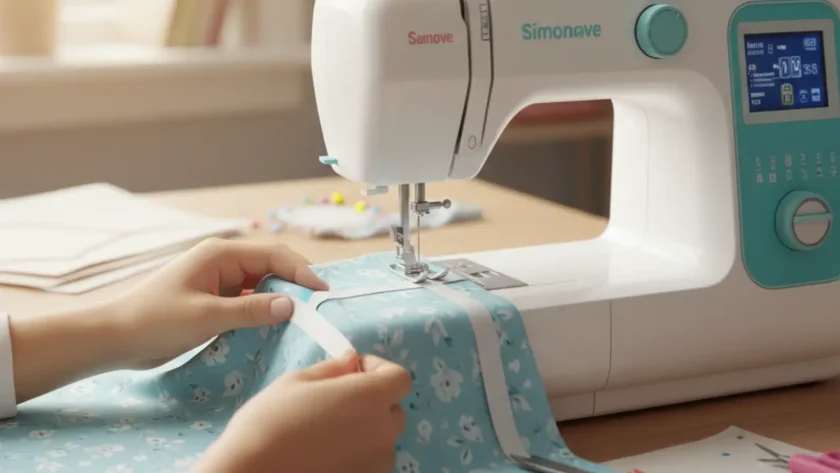
2. Stitching Elastic Directly
This method works best with knit elastic or fold-over elastic. Stretch the elastic while sewing it directly to the fabric. Great for fitted sheets or leggings.
Tip: Use a zigzag stitch or a stretch stitch so the elastic and fabric can move together.
3. Shirring with Elastic Thread
This is more decorative. Wind elastic thread onto your bobbin and sew rows on your fabric. It creates beautiful ruffles and is popular in dresses or summer tops.
I once added shirring to a cotton dress to give it more shape at the waist. It looked professional, and my friends couldn’t believe it wasn’t store-bought.
Common Mistakes When Sewing Elastic
Let’s talk about a few things you’ll want to avoid:
Using the wrong stitch: A straight stitch doesn’t stretch. Use zigzag or stretch stitches.
Overstretching: Pulling the elastic too much while sewing can distort the fabric.
Not anchoring ends: Always sew the elastic securely at both ends.
Using old elastic: Elastic degrades over time. Always test it before using.
How Much Elastic Should You Use?
The golden rule? Use 75% of the measurement of the fabric you’re attaching it to. So if the waist is 28 inches, cut about 21 inches of elastic. But this isn’t a hard rule. It varies by fabric type and project.
Always test first. Pin the elastic, wear the item if possible, then sew once you’re sure the fit is right.
Tools That Make Sewing Elastic Easier
Safety pins: For threading elastic through casings.
Elastic threader or bodkin: Faster than a safety pin and easier on the fingers.
Clips or pins: To hold the elastic in place while sewing.
Seam ripper: Trust me—you’ll need this when elastic doesn’t behave.
Projects Where Elastic Shines
Still wondering where to start? Try these easy projects:
- Pajama bottoms with a comfy waistband
- Fitted bed sheets with corner elastics
- Reusable fabric bowl covers with elastic edges
- Hair scrunchies
- Fabric masks with ear loops
Once you’ve mastered these, you’ll never look at elastic the same way again.
Sewing Elastic for Stretchy Fabrics
Working with stretchy knits? You’ll need to stabilize areas like necklines, waistbands, or cuffs. Sew clear elastic or knit elastic directly onto the seam allowance. This keeps the fabric from stretching out of shape.
I learned this trick while sewing a yoga top. Without elastic reinforcement, the neckline would have sagged in weeks. With it, the top still fits perfectly after many washes.
Wash and Care Tips
Elastic doesn’t last forever, but proper care helps. Wash elasticized items in cold water and air dry if possible. High heat can break down elastic fibers over time.
Avoid ironing directly over elastic. It melts easily and loses elasticity.
Final Thoughts
Sewing elastic may seem like a basic skill, but it’s foundational to making functional and comfortable garments. The more you practice, the better you’ll get at predicting how elastic will behave in different fabrics.
So next time you’re stitching a waistband or crafting a fitted cover, give elastic the attention it deserves. It may just be the hidden hero of your project.
Now it’s your turn! Have you tried sewing elastic before? What tricks have worked for you? Share your experiences or struggles in the comments below. Let’s help each other grow, one stitch at a time.